Taking a good oil sample using a vacuum pump.
This sampling method uses a Vacuum Extraction pump to sample non-pressurized systems. In general, use this method for geared compartments. It is important to use a new piece of tubing for each sample. Re-using tubing will contaminate other samples.
It is recommended that pressurized systems without sampling ports be fitted with sampling port kits. For pressurized systems, this provides the most reliable sample. If a pressurized system does not have a sampling valve, follow the vacuum extraction method described below.
The steps below outline the process of sampling a final drive. Use the same process for other non-pressurized compartments.
Step 1 - Ensure the oil is at operating temperature.
Before sampling, exercise the machine and implements to ensure the oil reaches operating temperature. This provides a S•O•S sample that is representative of the oil in the compartment. Turn the engine off. Measure and cut new tubing to the length of the dipstick. If the compartment you are sampling does not have a dipstick, cut the tubing so that it reaches about halfway into the fluid depth.
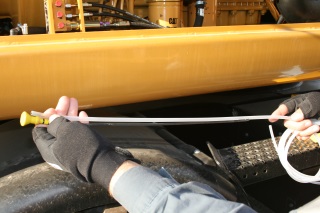
Step 2 - Load the vacuum pump with tubing.
Insert the tubing through the head of the vacuum pump. Tighten the retaining nut. Tubing should extend about 4 cm (1 in) beyond the base of the vacuum pump head.
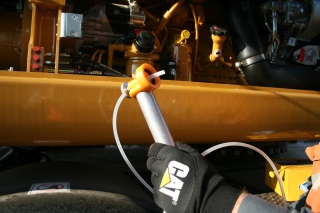
Step 3 - Attach the sample bottle.
Install a new sampling bottle onto the vacuum pump. Insert the end of the tubing into the fluid sump. Do not allow the tubing to touch the bottom of the compartment.
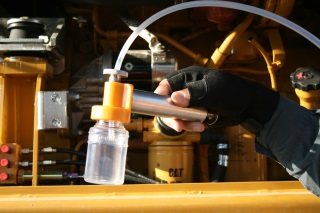
Step 4 - Collecting the sample.
Pull the vacuum pump handle to create a vacuum. Hold the pump upright. If the pump is tilted or turned over, oil may contaminate the pump. If oil enters the pump, disassemble and clean it before taking the sample. Fill the sample bottle three-quarters full. Do not fill to the top. Do not allow any dirt to enter the bottle or bottle cap.
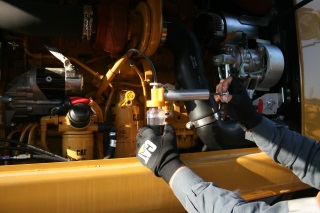
Step 5 - Fill out sample card and place in mailing container.
Withdraw the tubing from the compartment. Remove the bottle from the vacuum pump and secure the cap on the bottle. Then place the bottle with the completed label into the shipping cylinder.
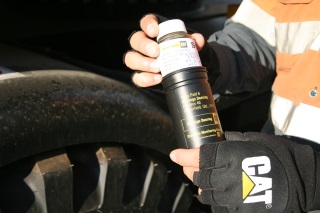
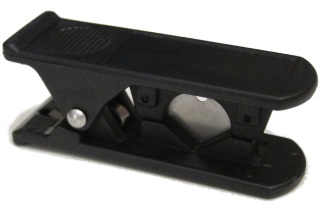
To prevent contamination of the vacuum pump, loosen the nut and extend the tubing farther than 4cm (1in) past the base of the vacuum pump head. Extend the tubing far enough that tubing with no oil on the outside is showing. Use the tubing cutter to cut the tubing. The cut should be made where the outside of the tubing is oil free below the base of the vacuum pump head. The remaining tubing may be pulled through the pump without leaving any oil on the inside of the pump. Pulling the tubing through the top of the vacuum pump, without completing this step, will leave oil residue that will contaminate future samples.
Step 6 - Mailing the sample(s).
Fill out the Express Post satchel, ensuring to sign the Dangerous Goods declaration.
Place the lid on the mailing container and put the sample in the filled out Express Post mailing satchel. Up to three mailing containers can be placed in each satchel.
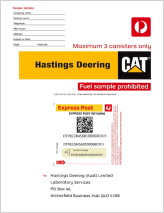
Failing to sign the declaration will result in the satchel being sent via regular Australia Post surface mail and will delay the sample reaching the laboratory.
Additional Information.
Use a tube cutting device
Cutting tubing with a pocketknife is difficult. Particles from the
knife can contaminate the tubing and the S•O•SSM sample.
To avoid these problems, use a Tube Cutter. A quick, clean cut
can be obtained using just one hand.
Keep sampling supplies clean
Store bottles and tubing in dust free plastic bags. Keep new, empty bottles capped. The vacuum
pump and brass valve probe should also be protected from dust. If a sample becomes contaminated
during sampling, it should be discarded. Take a new sample that is not contaminated.
