Taking a good oil sample using a live sampling probe.
This sampling method requires a Brass Probe and approximately 15 cm (6 in) of tubing. If you are sampling several compartments, begin with cleaner systems like hydraulics. Then sample the transmission or steering system. Sample engines and gear compartments last. Use a new piece of tubing for each sample. Re-using the tubing will contaminate other samples. The steps below outline the process of sampling engine oil. Use the same process for other pressurized compartments.
Step 1 - Ensure the oil is at operating temperature.
Before sampling, exercise the machine and implements to ensure the oil reaches operating temperature. This provides a S•O•S sample that is representative of the oil in the compartment. Set the engine at low idle. Remove the dust cap from the valve and wipe the valve with a clean cloth.

Step 2 - Cleaning the valve.
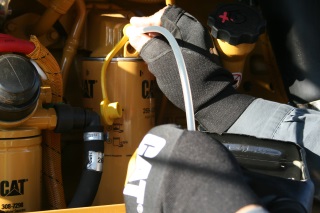
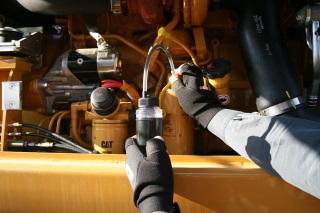
Insert the probe into the valve and collect about 100 ml (4 fl oz) of oil into a waste container. If the oil flow is slow at low idle, have someone accelerate the engine to high idle while extracting the sample. Dispose of the waste oil properly. This process cleans the valve.

Step 3 - Collecting the sample.
Insert the probe into the valve again. Collect about 100 ml (4 fl oz) of oil or fill the sample bottle three-quarters full. Do not fill to the top. Do not allow any dirt to enter the bottle or bottle cap.

Step 4 - Fill out sample card and place in mailing container.
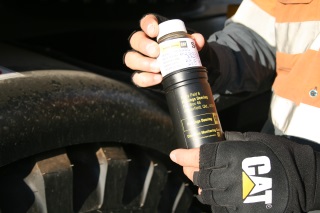
Withdraw the probe from the valve and secure the bottle cap. Place the bottle with the completed label into the shipping cylinder.
To avoid contamination, do not take samples from the drain stream, a waste oil container, or a used filter.

To receive the most value from S•O•SSM Services, supply all of the requested information. Model, serial number, and service meter units on both equipment and fluid are very important. Obtain fluid and maintenance information from shop records, Product Link, or EquipmentManager. Indicating fluid changes and top off fluid is also important. All of this information is critical to turn data into useful component health information and recommendations.
Tip: fill out the sample label information before you begin taking samples to keep the label clean and easy to read.
Step 5 - Mailing the sample(s).
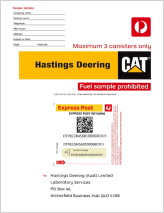
Fill out the Express Post satchel, ensuring to sign the Dangerous Goods declaration.
Place the lid on the mailing container and put the sample in the filled out Express Post mailing satchel. Up to three mailing containers can be placed in each satchel.

Failing to sign the declaration will result in the satchel being sent via regular Australia Post surface mail and will delay the sample reaching the laboratory.
Additional Information.
Keep sampling supplies clean
Store bottles and tubing in dust free plastic bags. Keep new, empty bottles capped. The vacuum
pump and brass valve probe should also be protected from dust. If a sample becomes contaminated
during sampling, it should be discarded. Take a new sample that is not contaminated.